
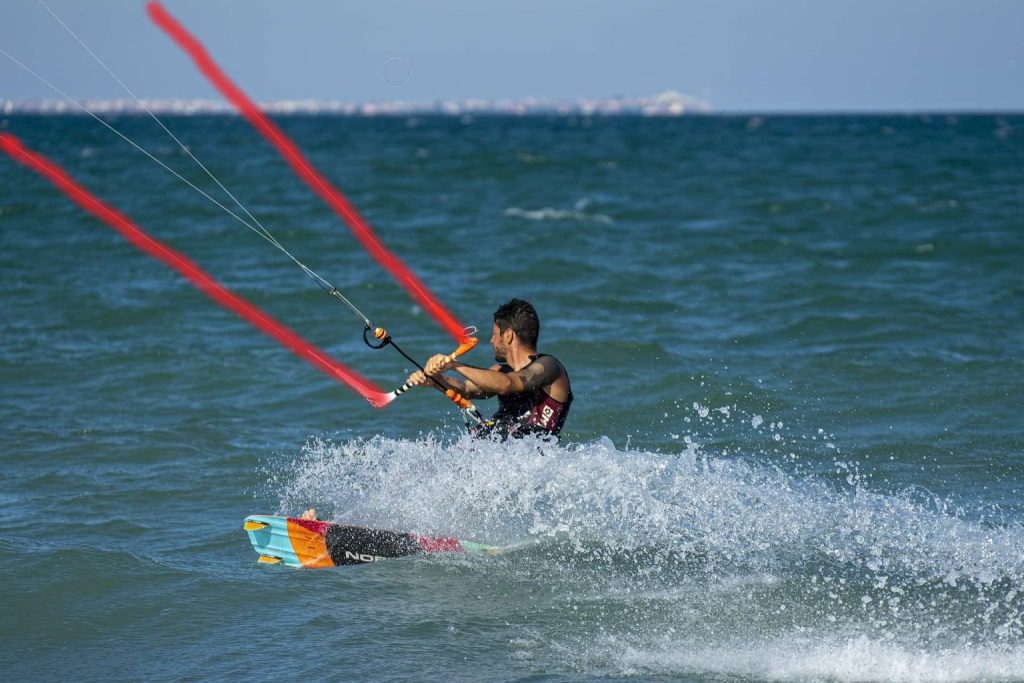
In this article we are going to explain the most popular definitions in kiting, which are essential to learn for any kiter.
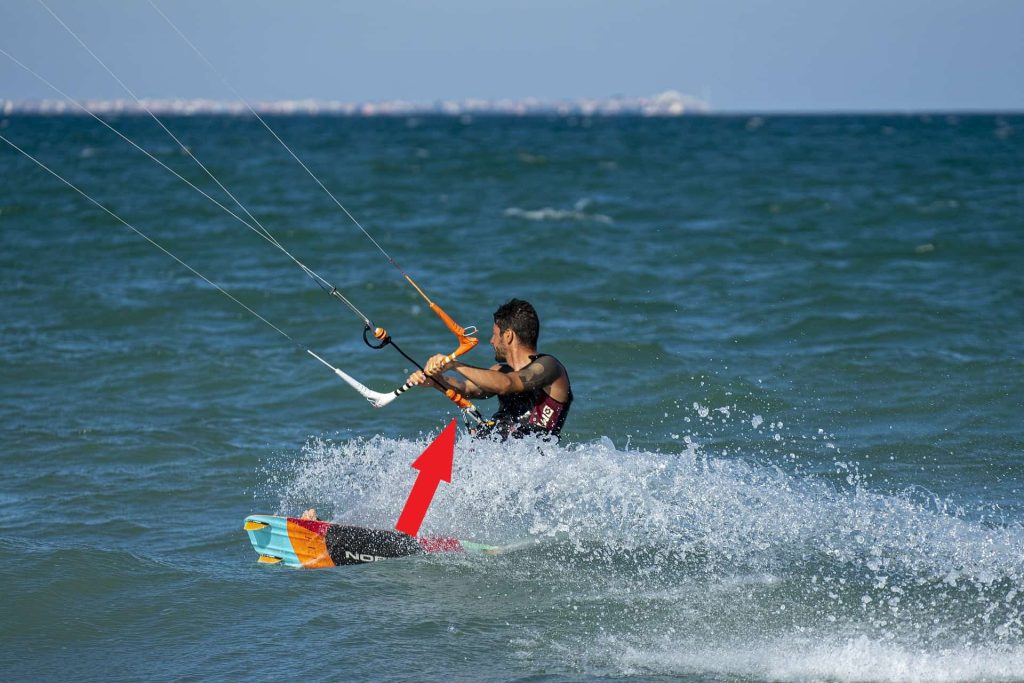
1. Leading Edge
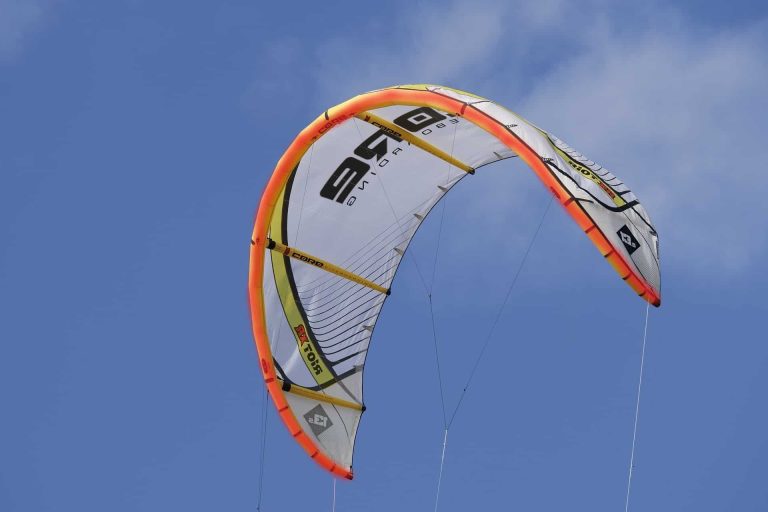
Take a look at the picture, there we have marked the leading edge in red.
The leading edge or front tube is the leading edge of the kite. The air-filled front tube gives the tube kite its unique profile. The front tube is filled with air through a valve and thus gives the kite a stable profile shape.
The opposite side of the kite is called trailing edge.
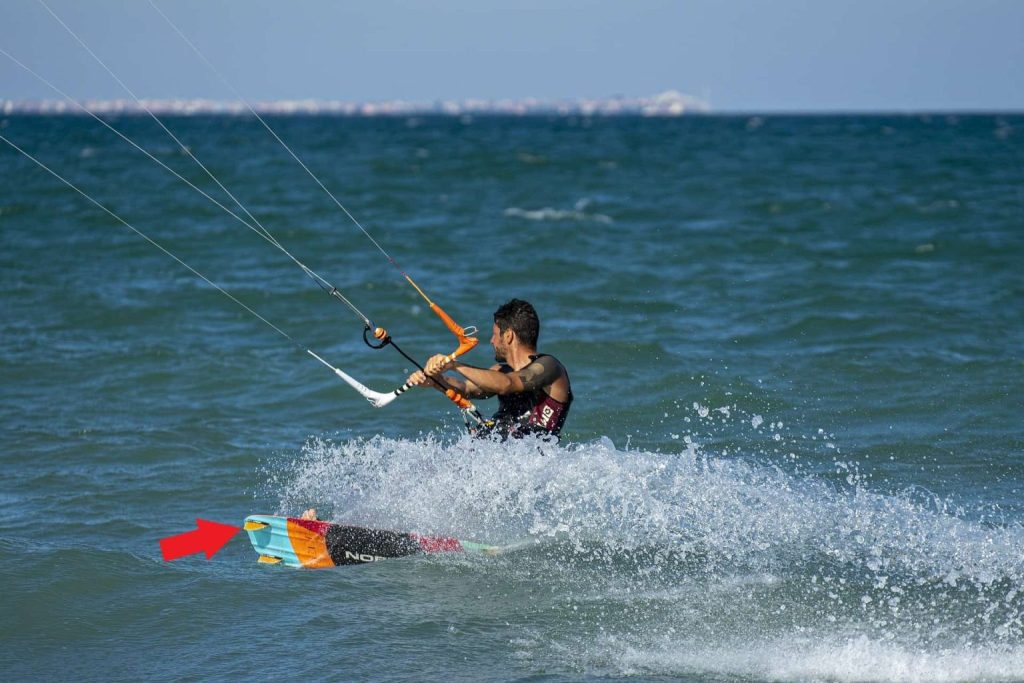
2. Trailing Edge
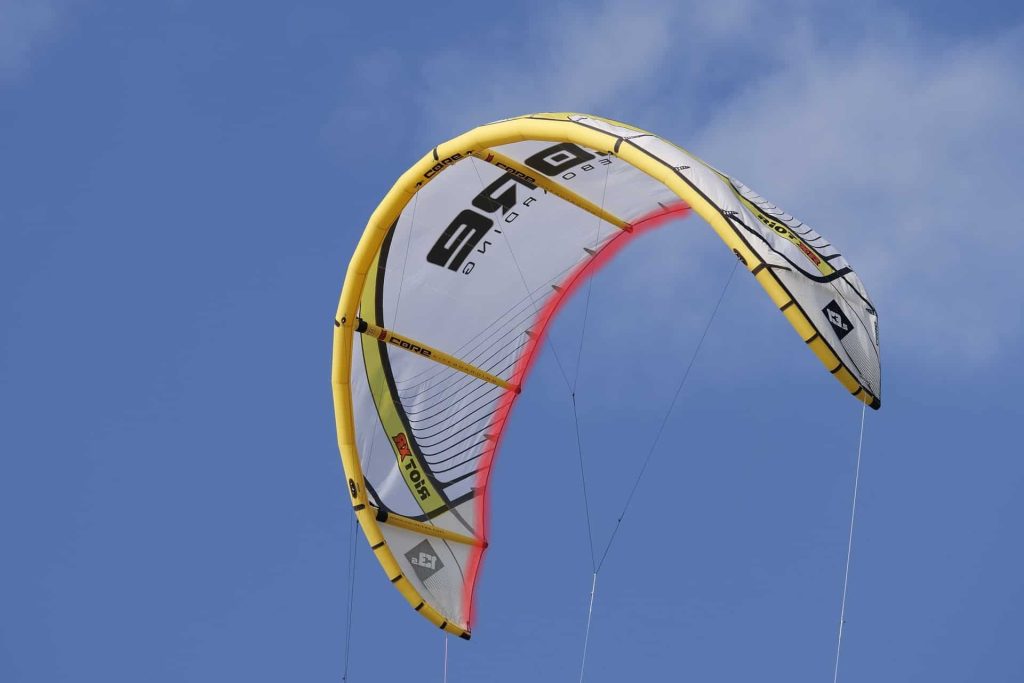
The trailing edge is marked red on the above photo, the opposite is called leading edge.
The trailing edge is the edge over which the wind leaves or last touches the kite. Consequently, it is at the end of the canopy. Kite manufacturers usually deliberately reinforce this trailing edge / trailing edge with additional material and / or by folding the material over and using additional seams.
This is necessary to avoid stretching of the cloth and to improve the flight characteristics.
3. Canopy
Canopy is the name given to the material of which the kite is mostly made. Mostly the canopy is sewn on the leading edge.
Depending on the manufacturer and the area of use of the kite, the material used for the canopy changes. Mostly a so called Ripstop material is used.
4. Depower System
Almost all bars have a depower system, this is a system to increase or decrease the power or power of your kite. This system works through a clamp on the power lines. If you lengthen or shorten this ‘depower rope’, the power of your kite will increase or decrease. For example, if the wind suddenly gets stronger, you can depower the kite by pulling the depower rope on your depower system.
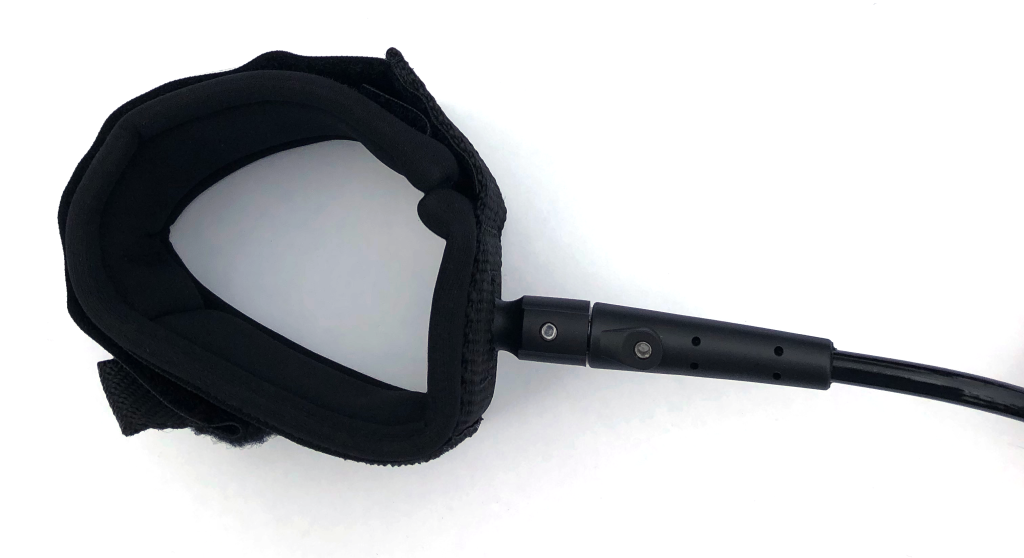
5. Chickenloop

The Chickenloop is a flexible ring that is located at the bar. It is hooked into the harness hook and is used to connect the kite to the kiter via the bar. This means that the power of the kite no longer acts on the kitesurfer’s arms, but on his body. Advanced kiters, who often use unhooked kites, sometimes use a particularly large chicken loop. This has the advantage that it can be hooked back in quickly and easily after a jump, for example. The Chickenloop is additionally secured by the Chickenstick and prevents the Chickenloop from accidentally coming off the harness hook.
The Chickenstick, also called Chickendick, is a fabric or plastic coated pen that is part of the bar and is located directly on the Chickenloop. It is used to prevent the Chickenloop from accidentally coming off the trapeze hook. To do this, the stick is passed through the trapeze hook and in front of the Chickenloop.
6. Frontlines
The frontlines are attached to the right and left, to the respective attachment point of the front tube or to the bridle lines. They converge in one line – usually in front of the adjuster. The kiter is connected to the front lines via the chicken loop. The pull of the kite affects the body of the kiter by means of the harness. If the kite tends to backstall, the frontlines might be too long.
7. Quick Release
The quick release is a very important part of the safety system when kiting and is located directly at the bar.
There are different versions, which work differently depending on the manufacturer. Before kiting, the Quick-Release system should be tested, cleaned from dirt and checked for proper function. It should be easy to release and free from dirt and sand. In an emergency situation the Quick-Release can be activated to release the kite from the harness hook. In this case the pulling force should decrease and the kite should fall from the sky. After releasing the Quick-Release, the kite is only connected to the kiter with the safety leash. When buying a kite, great importance should be attached to an easy to release safty. It is also important that the kite blows out completely, i.e. the remaining pull after releasing should be as minimal as possible.
8. Fins
The fins are attached to the underside of the board and, simply described, look like an upside-down shark fin. They give the board guidance and stability. They counteract the drifting downwind. The use of the fins and the rail (edge of the board) makes it possible to run upwind.
9. Board Leash
The boardleash is a safety line that secures the board to the kitesurfer to prevent the board from getting lost and floating away.
The boardleash is rarely used, however, as it greatly increases the risk of accidents. If you use a boardleash, you should wear an impact protection vest and helmet, as the board can be thrown back. For this reason, it is usually not recommended to use a boardleash when kitesurfing.
There are two common methods on the kite market to avoid losing the kite in the water. These are the Board Leash with a flexible rope and the Roll Leash, whose rope unrolls when falling. Both types of leash are attached to the kite harness and board. With the simple board leash, there is a risk that the flexible line (leash) is stretched very tight and then the kite board with its sharp edges and fins is bobbed towards the kiter.